how can i recreate the weight gain animation from the link on blender

ive been trying to do an animation for some time on blender, i currently have a character made and im trying to get the physics ready, so far i have several proxy mesh with cloth simulations for the soft parts and several shape keys to make it work, my current struggle is that i want to get correct interactions with the actual attire of the character, my best option is to find a way to control how is the shape key is animated so instead of the entire area inflating at once i could do it in sections without redoing the shape keys from zero, and the best example of what i want is https://x.com/BehemothBaron/status/1749540390061937150, on the post he talks about geo nodes but im a monkey with those and he never reveals the process, does anyone have an idea of how to do it or have a better idea of how to get the resoult i want? thanks in advance

Edit: my post was flagged as spam, I don’t understand why, it’s me asking for assistance regarding an animation I’m doing, and I posted links to another twitter users in order to exemplify what I’m intending to do

1 Like

I am not very familiar with geometry nodes since I have not had a reason to use it yet myself, but it looks like they may have explained it here:

This was the node setup they showed:

You may have already seen that already though.

yeah, and as i said… im a monkey when it comes to geo nodes so i have no idea of what nodes is he using, ive tried to guess but nothing works

The “multiply subtract” are “Math” nodes I believe ( \ \ ‘ω’ \ \ )

Ya I think I get what they are doing from the nodes I see in theory, but I am also not familiar enough with geometry nodes to say for sure lol. Ill take some time tonight to look over their explanation and might even reach out to them as I think its simlar to another system I was thinking about as well.

If I learn anything that might be helpful to you I will make sure to share on this topic.

I read your post multiple times, but unfortunately still can’t understand what you want to achieve. On video which you linked there is no any interactions with cloth. Geometry nodes in blender used to be able to transform mesh in different ways by setting logic with nodes. Creator of that video applied geometry nodes modifier on mesh, created multiple vertex groups on mesh and added weight paint. If I am not mistaken it looks like author scaling geometry according to weight paint in two axis. Unfortunately I didn’t work with geo nodes and don’t know which nodes to use to build exactly this logic, but from my perspective of view creating something like that even harder then making multiple shape keys. Well, if it is a body shape like on that video it is fine, but not with some detailed body shape.

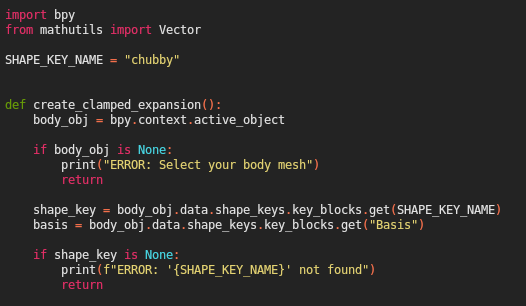
my procedure was to take the high poly main mesh and make several shape keys for different stages (chubby, fat, obese, etc) then i duplicated different areas in order to do proxies meshes with cloth physics for the jiggle, being these: 1 the torso from right above the knees to the back right before the beginning of the neck, 2 a separated one for the breasts, 3 the rest of her body as a lower poly for collisions, since those are duplicated the shape keys remain the same on the proxies,

what i have right now is the high poly mesh with several surface deform modifiers for each area, the physics themselves are good so far (i spent several hours to get the right parameters and weight painting for each area)

then it was time to go with the interaction with the actual attire… which is absolute trash, it eats up all my performance and the results are awful because cloth on cloth interactions are almost impossible in blender and the few that managed to make them work keep the answer for themselves,

i was going with some pants and a shirt, since it didn’t work at first i thought that maybe i could treat the clothes as a solid object and shape key my way through the animation… which went awful as well because the interaction is very rigid making impossible to get the right effect (i want to obtain an effect of the belly spilling over the waist band before popping the button) the main issue with this (and probably with my entire idea for the animation) is that i cant let the belly grow on a tight/ compressed space (the pants in this specific case) because blender cant handle that kind of interaction without getting crazy, the top of the belly gets a very bad indentation and spillage effect but the bottom part that is contained by the pants gets crazy.

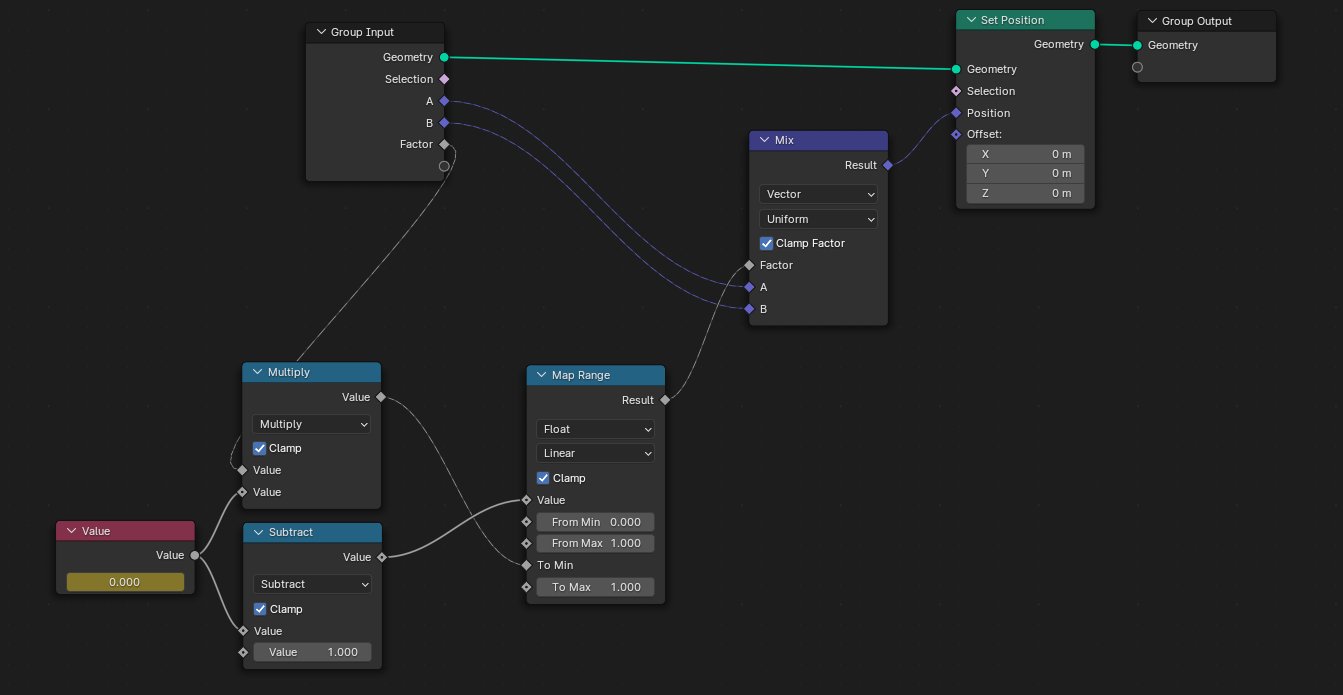
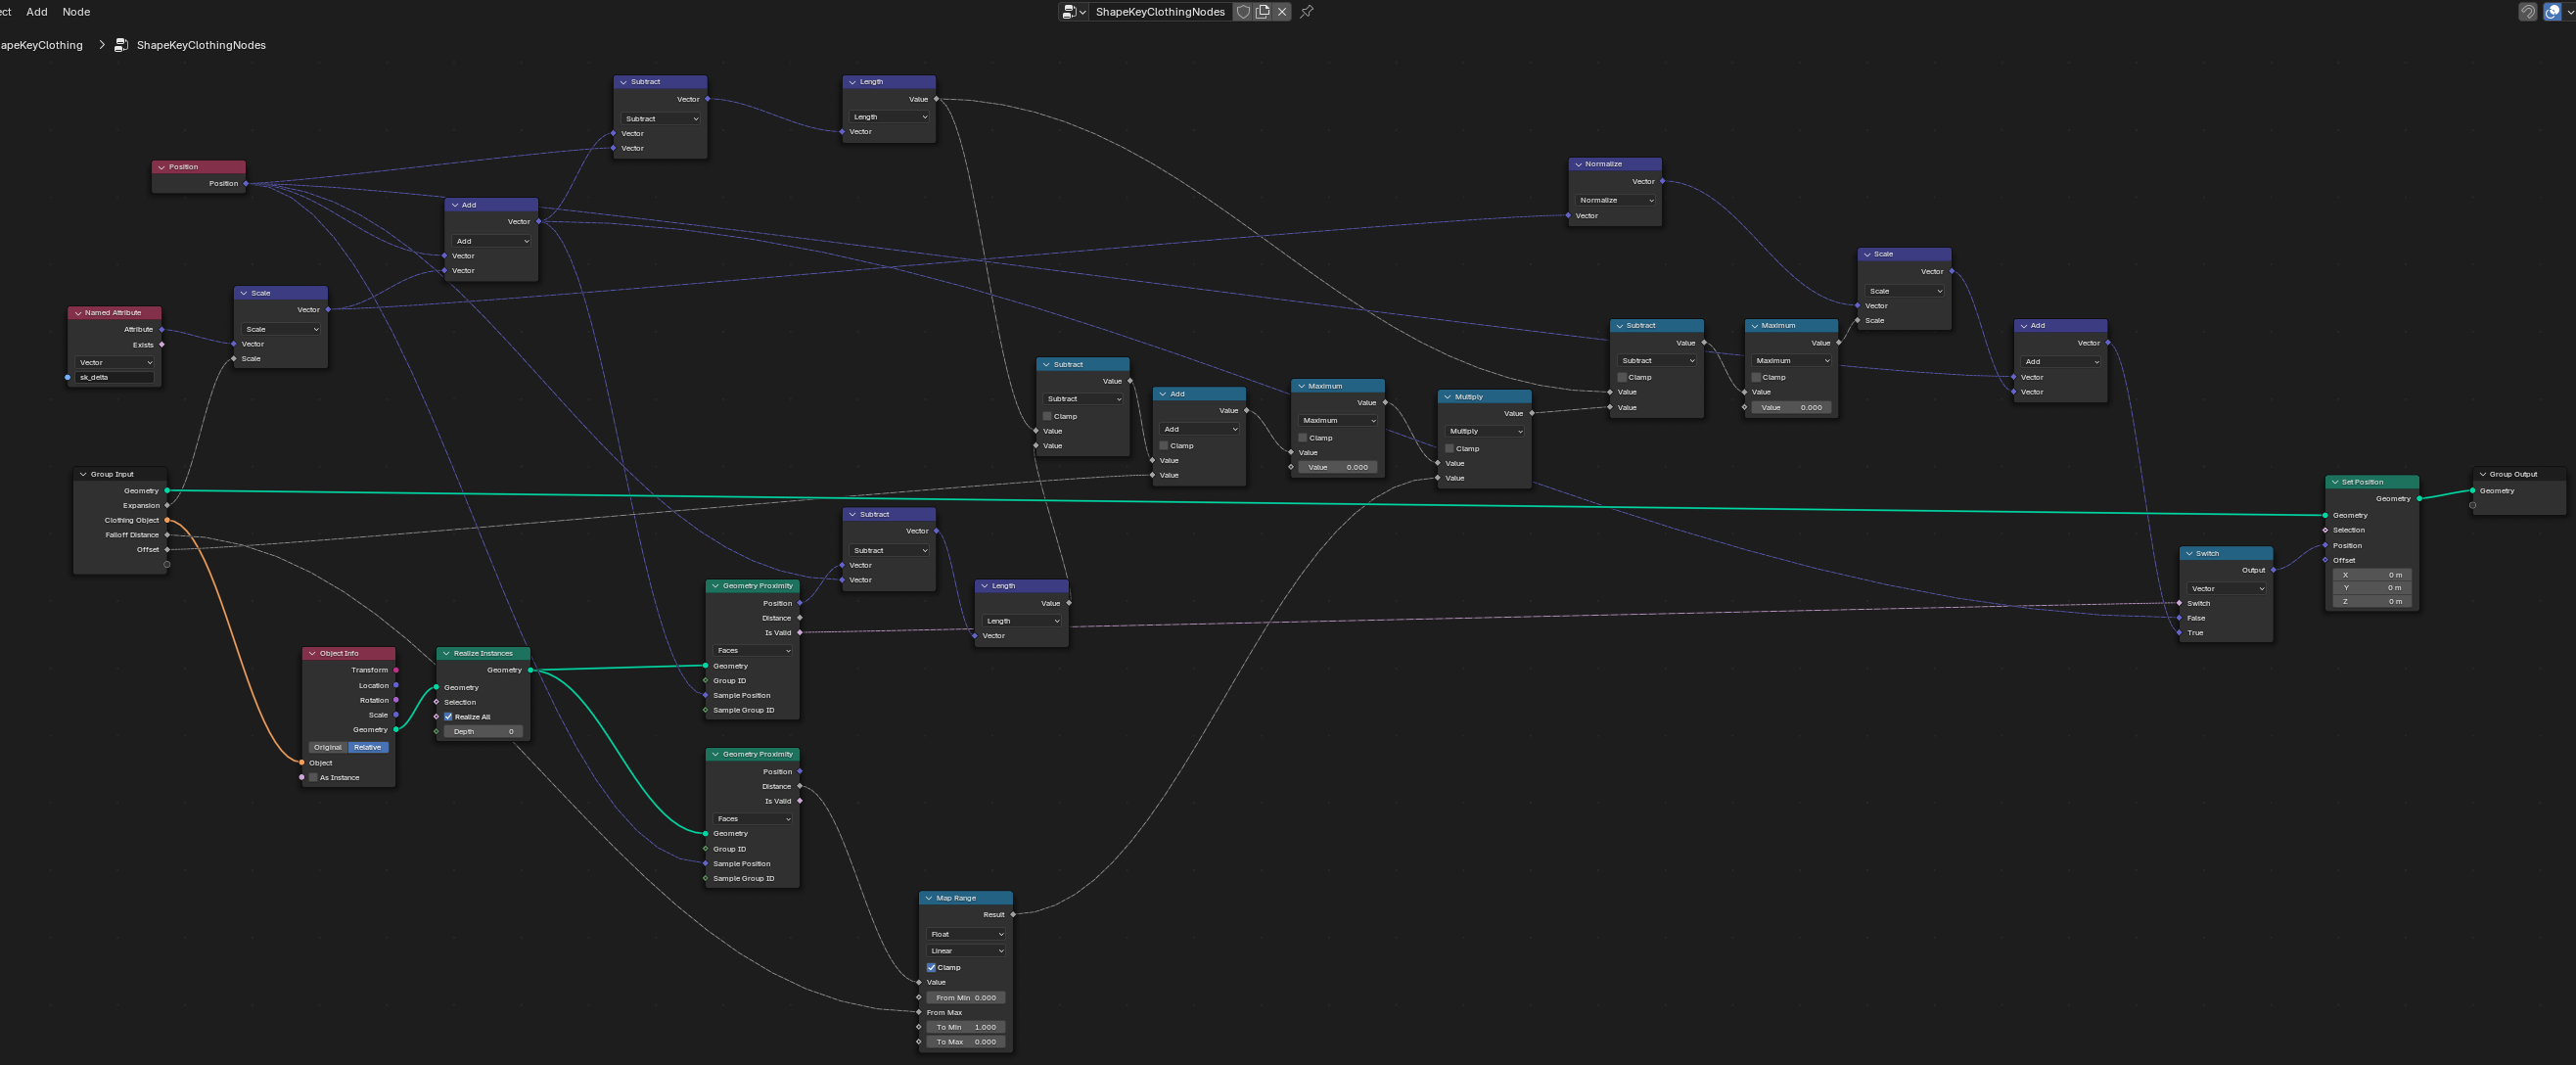
so my idea was that maybe i can control the way the shape key takes effect, a way to make a certain section to grow faster while the rest follows at a controlled speed (in my case that will be to make the top section of the belly to grow while keeping the lower section within the size of the pants that will be driven by shape keys) then i found the post i showed and tough that maybe i can use that method or adapt it to my need.

my other idea will be to find a way to mask some areas so the shape keys dont act on them and animate the mask somehow, or if it possible take the pants mesh and make it so it acts as the mask so when the belly mesh interacts with it it “turns off” the shape key and the cloth on the area that is in collision.

all that is just me brainstorming because i have no idea if thats even possible, what i need is a way to make clothes to interact to each other, find a way to make indentations and that “spill” of the fat when the clothes are too tight, if its possible to make it work dynamically that will save me a lot of work.

ive also found this guy https://x.com/HeavyWomanGuy/media, that seems to have found a way through (judging by his posts and animations) then… solutioned right?.. no i dont understand ANY of his methods he has tried different approaches and has explained them but i dont understan ANYTHING, i read his posts and it sounds like rocket science to me, im probably missing some info

Edit: why am I being classified as spam, please I’m just asking for help

In case of HeavyWomanGuy from his comments and videos he just use shape keys for all transformations. On his models clothes and body is the same mesh on which applied cloth simulation modifier. Body don’t deform around cloth according to physics calculations, because all this shape deformations controlled by shape keys and cloth physics here is only to make fat jiggle effect. So, idea was correct: you make one shape key with belly upper part deforming faster then lower part.

Any idea of how to do that? It probably involves geo nodes since is the only method that allow that level of control, this is the best example of what I need…

For some reason I can’t post the link…

It’s a body mesh and he is showing up how it gains weight, in the middle of the belly there’s an area where the shape keys do not take effect simulating a belt squeezing it, then it abruptly grows too, simulating that belt snapping, the physics are amazing and everything looks organic

Sorry btw, if our systems see similar or same links being posted by new accounts to frequently it can assume you are a spammer and flags you for review. Your posts should be restored now.

All fixed thanks, did you perhaps found a way to make the system work or maybe know a way to adapt it to work with the shape keys?

TO ANYONE INTERSTED:

i sort off manage to make something, its a shit ton of geo nodes that, if i understood correctly, it turns the shape key into an object data attribute and uses that data to read the path of the vertex and

  • Calculate where vertex wants to go
  • Find nearest clothing point from that expanded position
  • Check if expansion went past that clothing point
  • If yes, pull back by exactly the penetration amount + offset

you are able to select what object will act like the “cloth”, set an offset value and a falloff distance to smooth things out.

IMPORTANT (please dont roast me) i made it with AI, particularly Claude and what i got was a script, on that script you will see this on the firsts lines:

the important thing is

SHAPE_KEY_NAME = “chubby”

before running the script, you must change the “chubby” for the name of the shape key that you want to be calculated, so if yours is called “fat” it should look like this:

SHAPE_KEY_NAME = “fat”

i asked the AI to make it keeping in mind that im using blender 4.4 so maybe the script wont fully work on other versions, this is the appearance of the geo nodes :

i dont understand anything of whats going on in there and of course the results are far from perfect, so if someone ever finds a way to upgrade it or perfection it please share it back.

this is a zip file with the .py file on it

shapekey_clothing_v8.zip (3.1 KB)

PD: do you think that i should made a new post for this so it can reach more people?

1 Like

So got a chance to chat with the modeler a bit and I think I understand what their setup is meant for.

Basically its still a shape key under the hood but they used geometry nodes to break out each vertex so they could adjust the influence on a vertex by vertex basis to give them more control over it.

So in their size demo its all the same shape key but they can adjust the keys influence on each vertex to give more control over the shape

1 Like

Ok, now I have to find a way to make a Node tree that allows me to replicate it… I have no idea how… Research time I gess

Thanks for taking the time to find out though

2 Likes