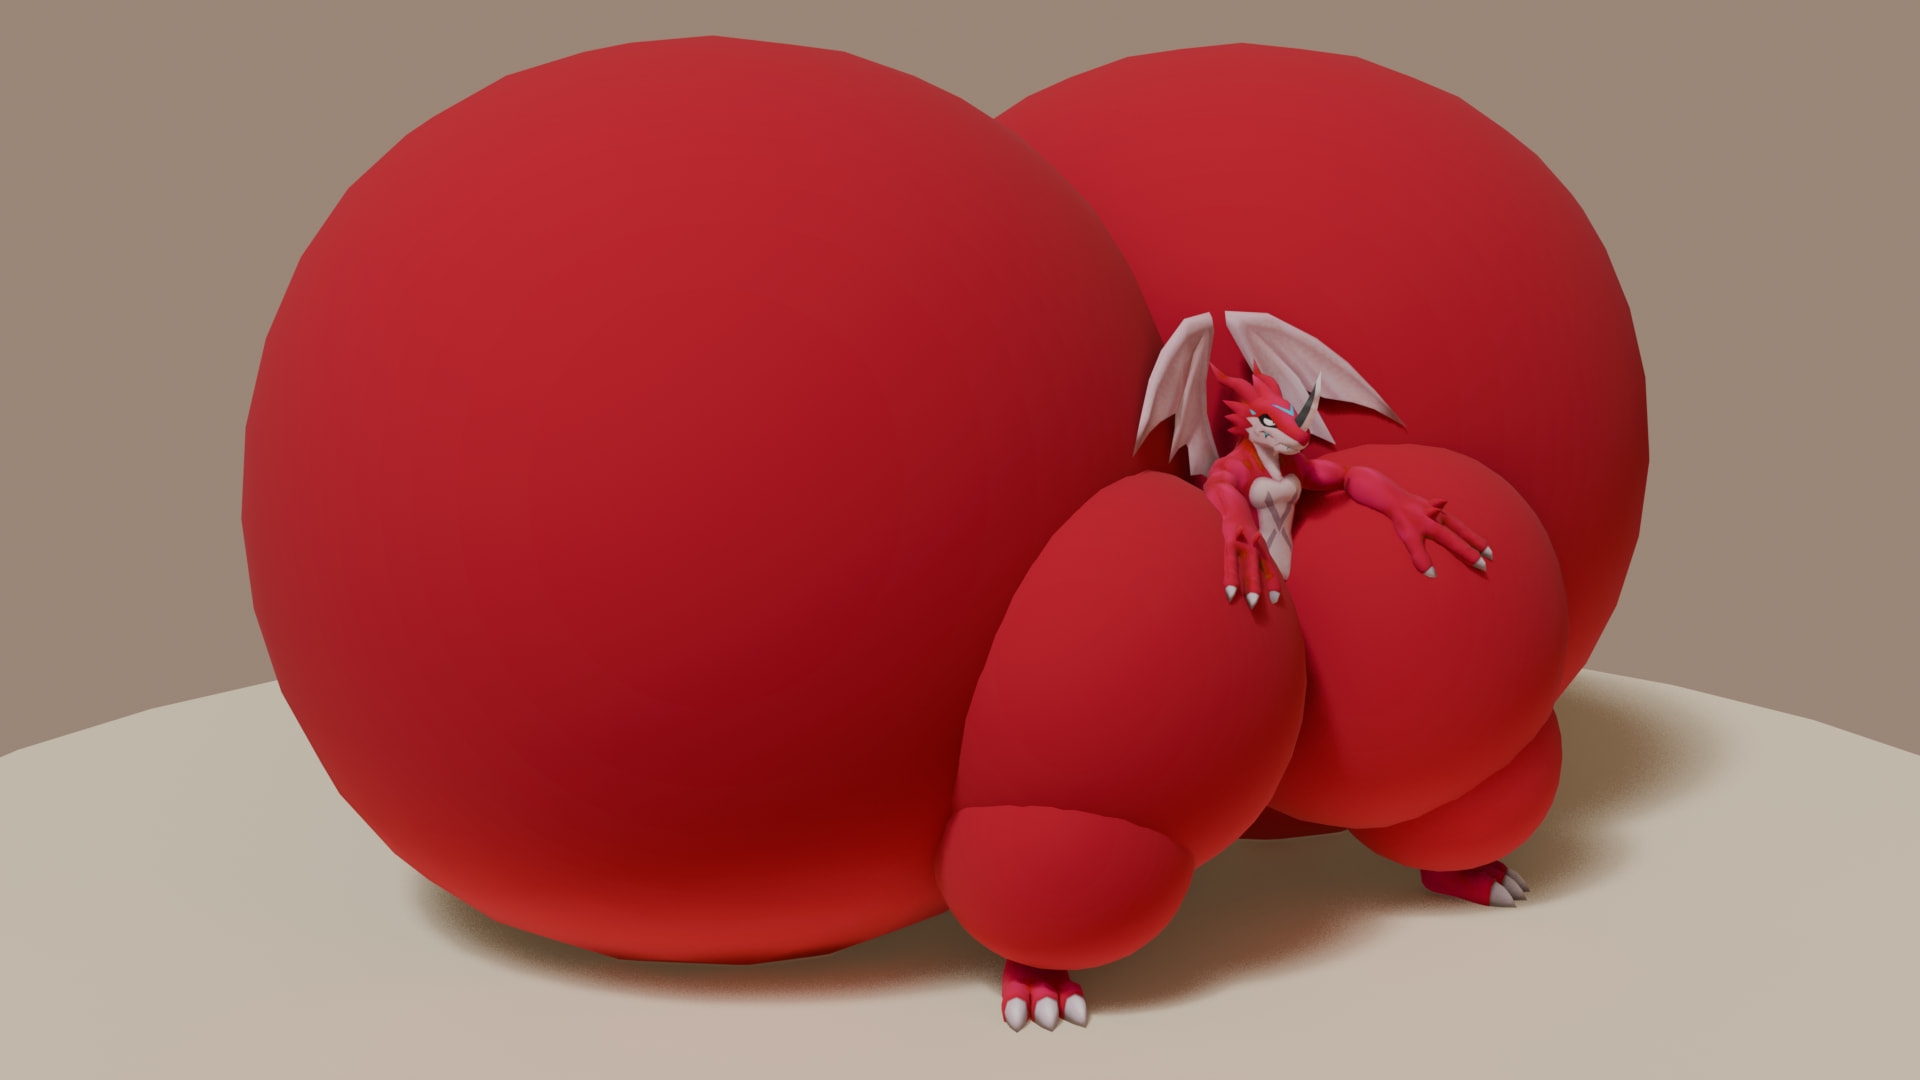
For my game about big guys getting bigger, naturally I need the models to be able to do that. Problem is, I only know “normal” modeling techniques, when it comes to kinky massive stuff like this I’ve got nothing, it’s not like there’s tutorials out there for “how to model and rig a guy with an ass bigger than the moon”, so I was hoping that’s where you fine folks can come in.
Right now, my 5-minute speedrun approach for standard human models is to extrude a cylinder for the legs, then merge it with the body and move on from there, but for this, I’ve been struggling to find an approach for the massive assets that’d still rig properly.
I’ll start with the butt since 1. I need it to test a hitbox offset, and 2. It’s the hardest part to figure out myself. Here’s what a sped up 5 minute attempt minus importing my custom rig looks like from me (mind you I did not refine this so it’s blocky)
What I’m going for is legs that deform properly on a character with potential for a
massive without the legs moving too much of the butt with it. I grabbed a few Digimon models from the Models Resource (ExVeemon uploaded by Hallow) and basically glued spheres to them in a way that shows my vision shape wise for the butt. How do I properly model geometry that can go from mildly thicc to this:
2 Likes
Take what I am going to say with a grain of salt as I am only really ok with hard surface modeling personally and I dont have a ton of experience with what you are trying to do specifically.
If I am understanding you correctly what I would do is do something like you have to do with breasts, and have two bones connected to the hips that control the ass that way your legs dont have influence of them and you can control them individually.
I would then use a combination of blenshapes to not just control the size but provide shape adjustment to the ass as required. In blender I think you can setup the ass bones to drive the corrective blend shapes if you want, and while that wont transfer over into your game I think it would get baked into any animation.
I am not sure how helpful it may be but maybe you can steal some stuff from the Sizefur wiki, though I dont think they ever finished their rigging section. Also, while it is mainly in Maya most of the generals translate between all tools.
For your goal you need to make additional correction shape keys which you use specifically to sculpt needed cheeks shape when skin deforms because of legs bones angle. As alternative you can create additional bones and use them for inverse kinematics (those bones will move in opposite direction from thigh bones to compensate deformation). First method require sculpting when second one require manual weight painting of additional bones.
P.S. According to game engine which you plan to use and if you plan to apply jiggle physics on cheeks there could be some limitations. For example if you will use Unreal Engine and Chaos Physics Asset for that then inverse kinematic bones is not your choise, because this bones on which you apply physics will use only physics completely ignoring other bones.
It is hard to tell you how to achieve your goal since I can’t understand which level of aesthetics is acceptable for you. I personally have no idea what Godot engine have and how you handle those things there since I have some knowledge only about Unreal Engine. As you showed on video where you just made a shape key for bigger butt size - that is exactly how most developers around handling something like that. So, cheeks clip with each other, clip with ground, clip with thighs and arms. For me personally it isn’t acceptable level of aesthetics, but it is the fastest way if you don’t want/need to waste time on improvement. If it was me I would make multiple additional correction shape keys for different situations: for example a shape key to deform cheek when thighs come close in walking animation or a shape key to deform cheek when leg move in front and cheek clip with ground. All of my additional morphs I would add in Animation Blueprint (that is how it called in Unreal Engine) as float variables and create a locomotion states logic to tweak shape keys according to current animations. So, the question will be is how much time and effort you can allow yourself to waste on improvement or it isn’t necessary for your goal and you don’t care about those clipping issues. There is no any system or method which can handle this thing or made specifically for this type of issues. Maybe, only if it is a soft-body physics which applied on cheeks and they deform according to collision, but unfortunately I don’t know if such system exist in Godot.
So update: for the legs, I’ve found a modeling technique that anyone can do sub-15 minutes if they’re looking for the same result as me. Issue is a very slight weight painting issue that probably doesn’t matter, especially in a stylized art-style, but I take personal offense to it, and want it fixed before I make anything final with this.
When using automatic weights to parent my mesh, everything works as I desire at base size, but when the booty slider is cranked up, you can see the issue. Too much of the cheeks deform with the legs, making it go from the round shape I want to whatever is going on here:
But when I attempt to manually weight the cheecks to ignore the legs, we’re left with this area that leaves a clear dip in the leg when it bends:
So I’m updating this post in case anyone has any solutions before I come up with one. For one last bit of reference, here’s the geometry both subdivided and non if you need that information.
Any Help is appreciated
(also I am aware of the corrective shapekey + driver type of solution, trying to get more of a hard fix than a patch, if that makes sense)
Okay, I’ve found an old model of mine lying around that has better topology for the deform I’m looking for. So long as I keep the weighting of the legs off the rear it’ll deform this way.
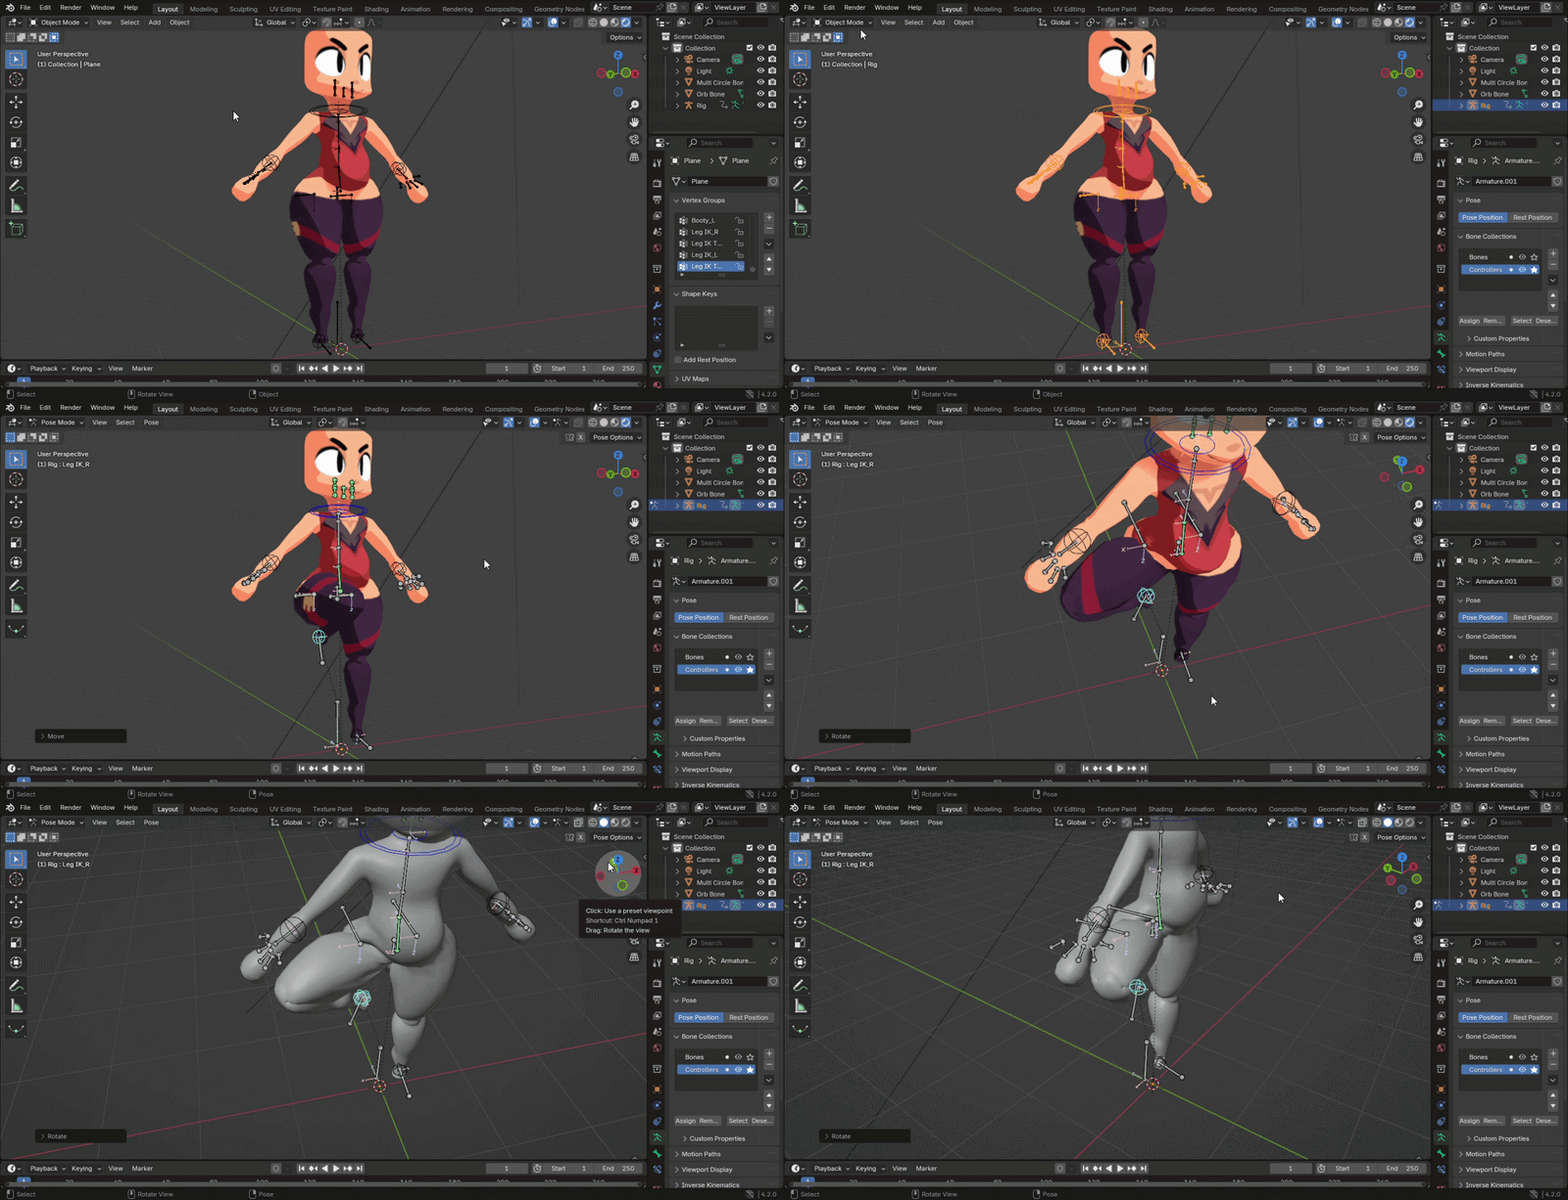
Problem now is, how do I give this an ass? YouTube tutorials don’t really account for it needing to be able to become massive like I do in my project. Usually they just insect the faces on the legs and pull them out a little bit. How would I apply the topology of full full on spheres to the rear of this model?
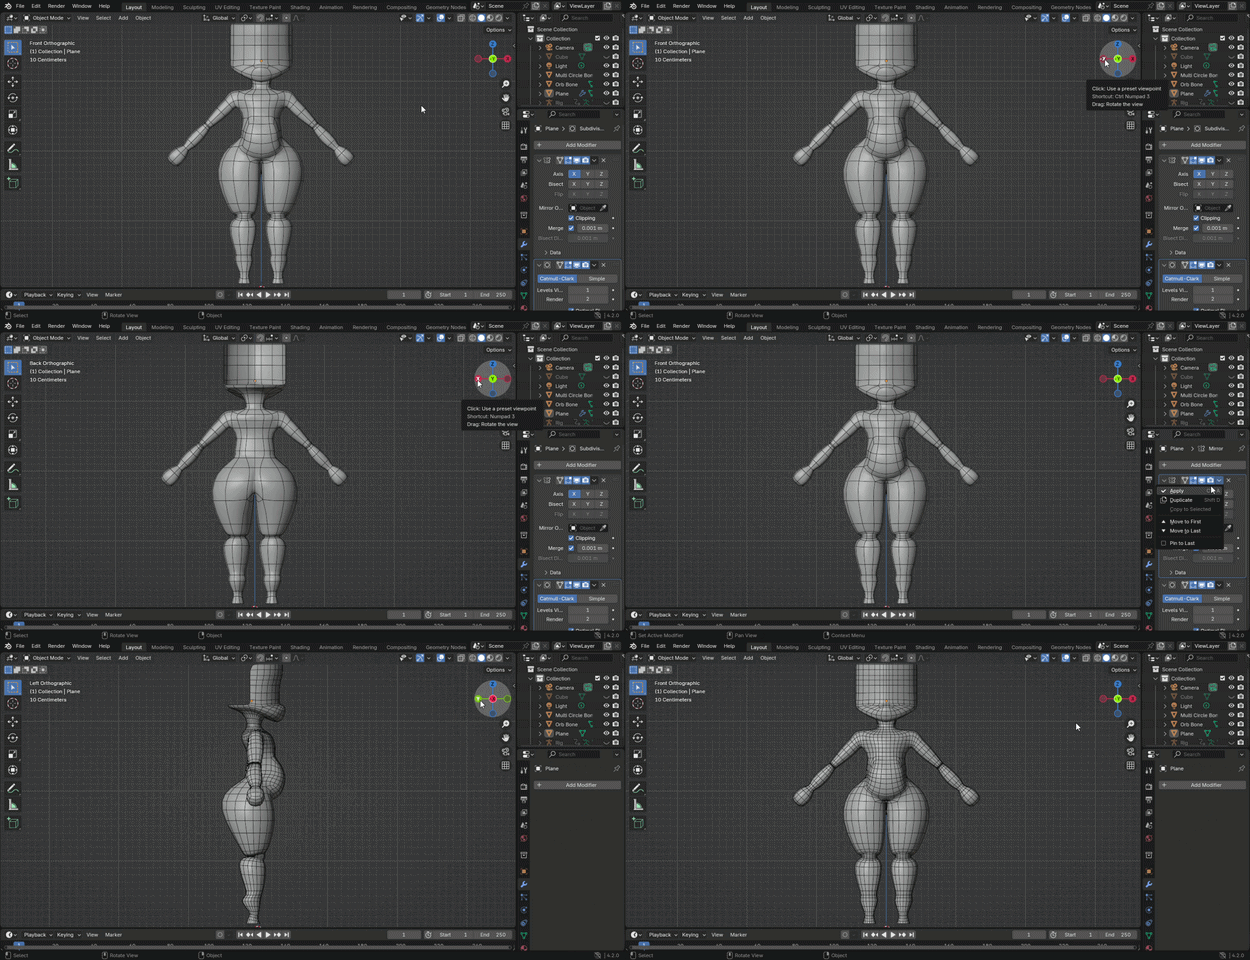
I think I don’t understand exactly what are you asking. You have a model with small butt and you need to make this small butt gigantic? If it was me I just use sculpting tools to make gigantic butt from small butt and add more polygons to it in process to make sure it will look smooth instead if edgy.
Okay, hopefully the last time I’ll have to ask a question on this topic
After downloading and tinkering with more free models from different nsfw artists (and surprisingly some sfw games) I’ve come to realize: what I was initially aiming for is almost never done. At best if I were to do it time-efficiently it would be made of free-floating parts PSX model style since clipping would be basically unavoidable with perfectly spherical cheeks like that. Most of the models I’ve found don’t bother with correctional shapekeys or special weighting to basically make the “ass built separately” from the legs and torso’s weights, they just don’t do extreme movements that’d be hard to pull off at those sizes (which makes sense, by the time the ass is big enough for the legs to have clipping issues in a walk cycle, they’d practically be waddling instead).
To that end, I’ve found an old model from my “it needs to look high quality so I’ll give it a million vertices” days that has the ideal “small” state, and gave it a hyper butt shapekey. Ignore the unnecessary amount of faces, but in general is this just how it’s “supposed to work” for this type of thing? Like, should I basically retopo this and use this as my method for how I do this kind of thing, or is there still a better “speed modeling” method? Mind you I’m aiming for aesthetic, as well as time efficiency since, you know, solo dev
And despite working with Godot engine, I mostly export as FBX, so the less special drivers and shapekeys I need to export and the more baked in animation content the better
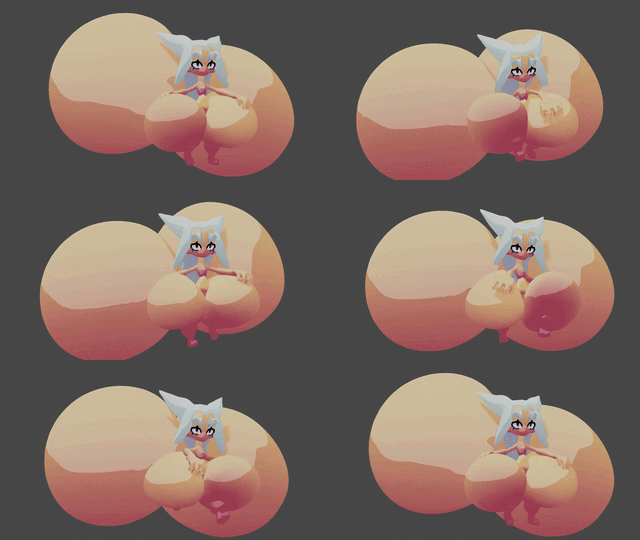
Also, this isn’t a question about my current game specifically anymore really, since I applied my cel-shader to the "separate part method” I briefly mentioned and came up with this by using an old model, which is almost exactly what this one particular project needs, I just need this sorted for projects that don’t look exactly like this:
Okay, hopefully this time final question, and it in theory is a simple one:
I don’t want to fully give up and go with separated parts yet, so I decided “screw it, if I can’t get what I want working from zero, I’ll work backwards", and posed the legs outwards when modeling and applying the rig with automatic weights. It deforms pretty much exactly how I draw hyper character leg movement. Issue is, when I apply the armature and set the rest pose at a normal standing pose for the sake of animation, it no longer deforms the same way:
(And yes I’m aware in this clip I moved the left leg on the second example instead of the right, that’s not the cause, I checked with multiple projects from the ground up since this method is sub 5 minutes)
I’ve tried with “preserve volume” both checked and unchecked. What’s the cause, and better yet, what’s the solution? I think if I can get at least this solved I’ll be able to finally have a style I can work with and put this topic to rest (unless something stupid and unforeseen comes up later)
TLDR: everything is exactly how I want it finally when I set up the rig, but when I apply a new rest pose it breaks