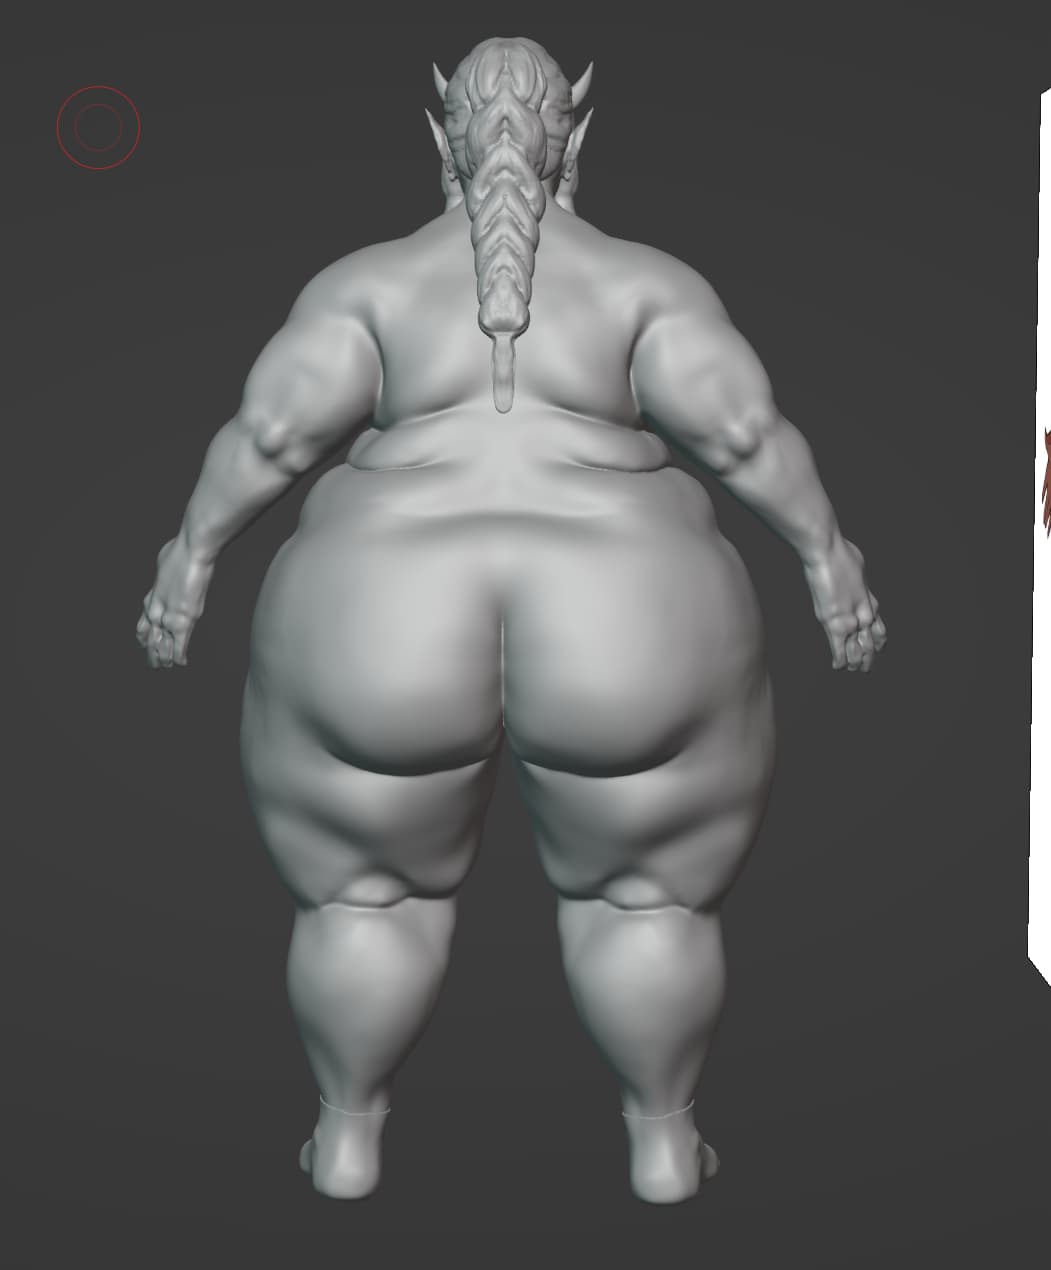
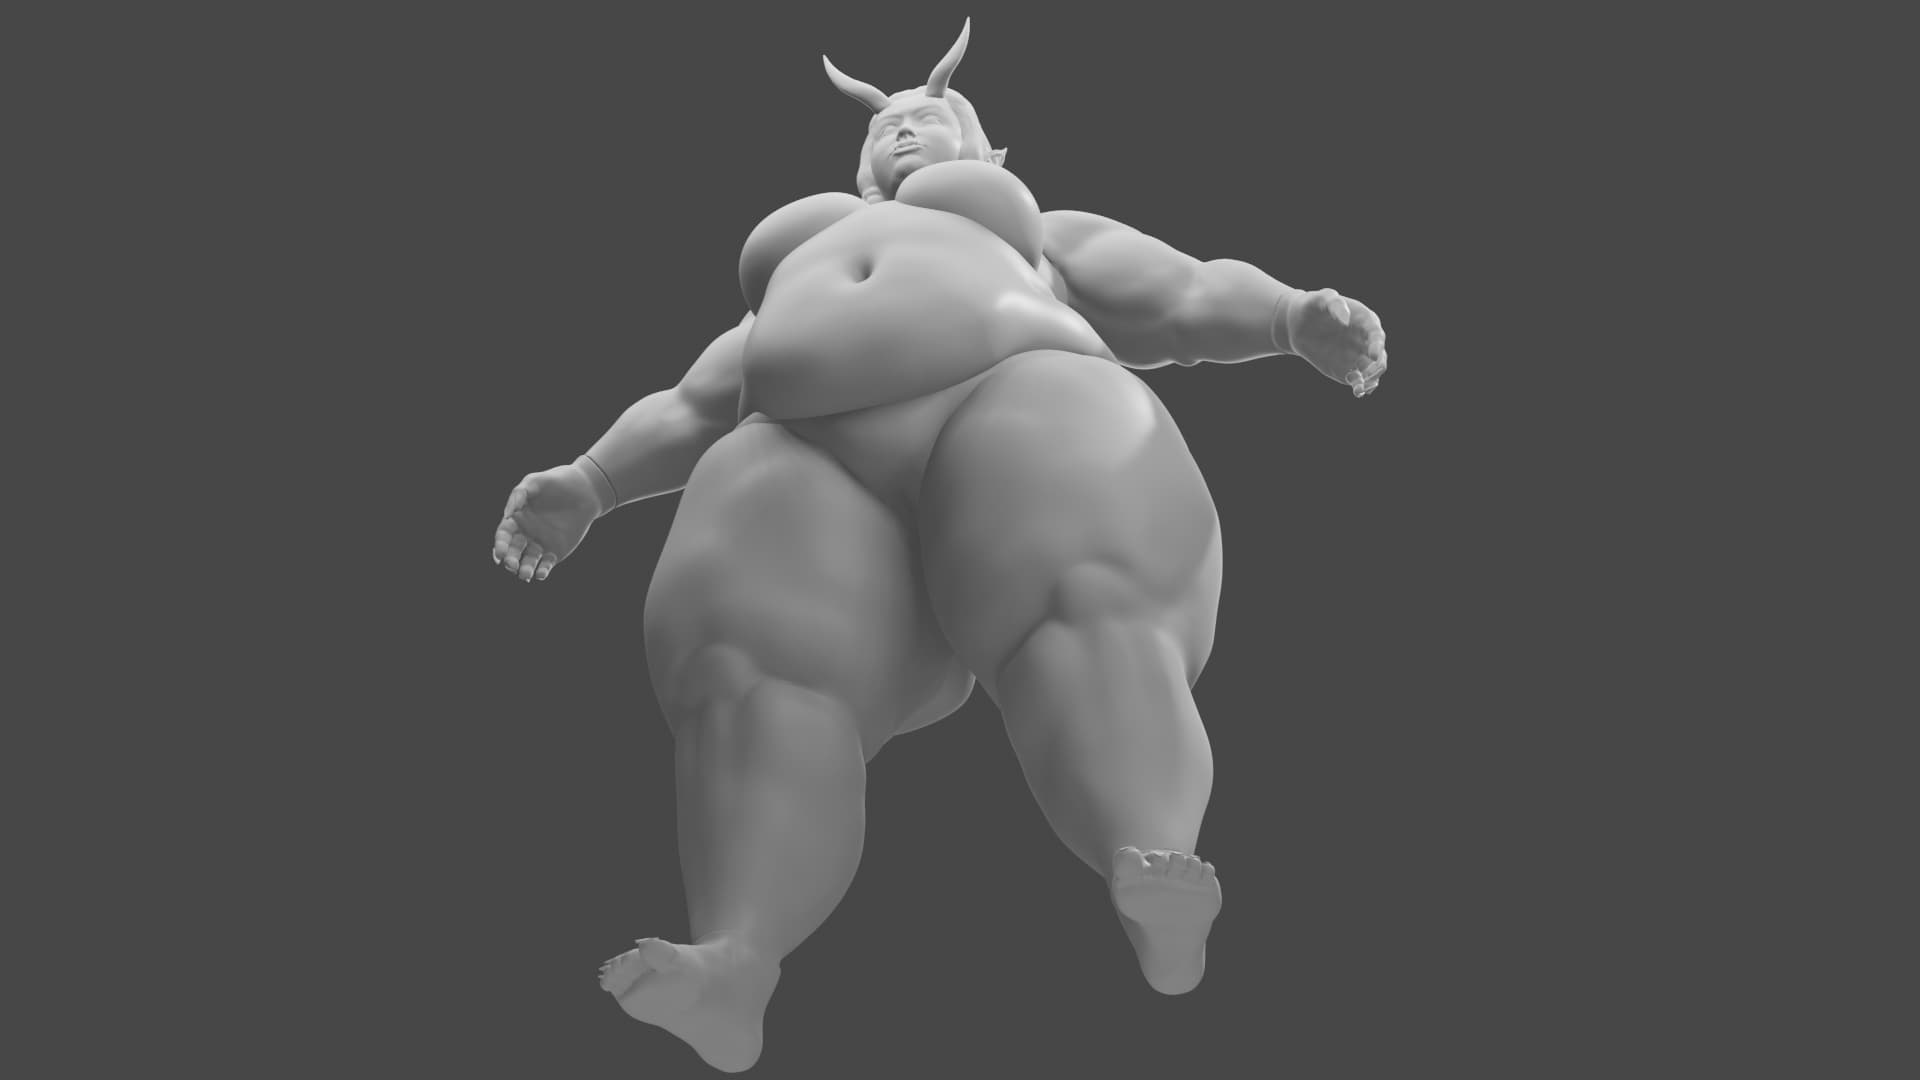
I have been experimenting with 3d modeling in blender. This is my attempt at sculpting a 3d orc girl. I’ve been staring at the model for a while so I wanted to get some feedback as well as gauge people’s interest in seeing more fat 3d sculpts and getting regular updates on progress.
The character is designed to be a strong-fat orc. I bounce around a bit with how muscular I go. For now I decided to cut on the fat storage in the upper arms to get the message across that they are a strong warrior type.
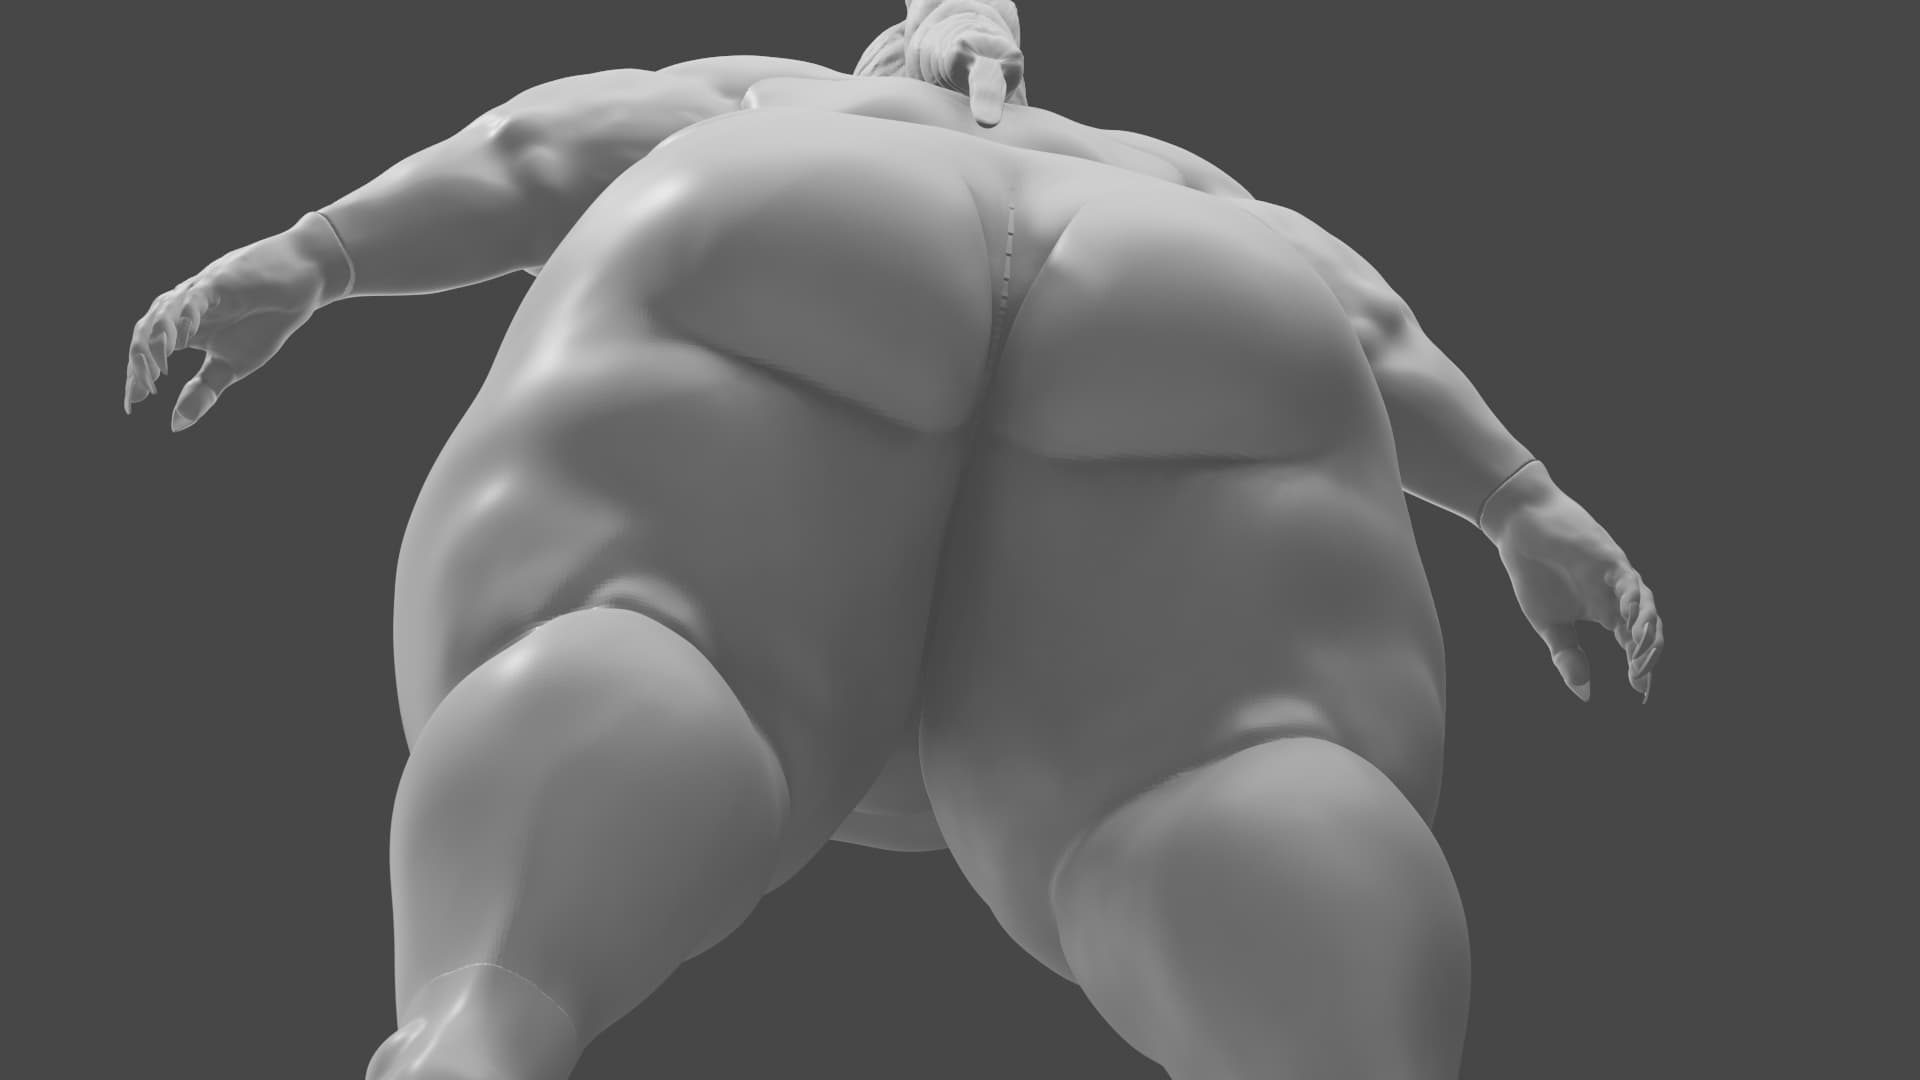
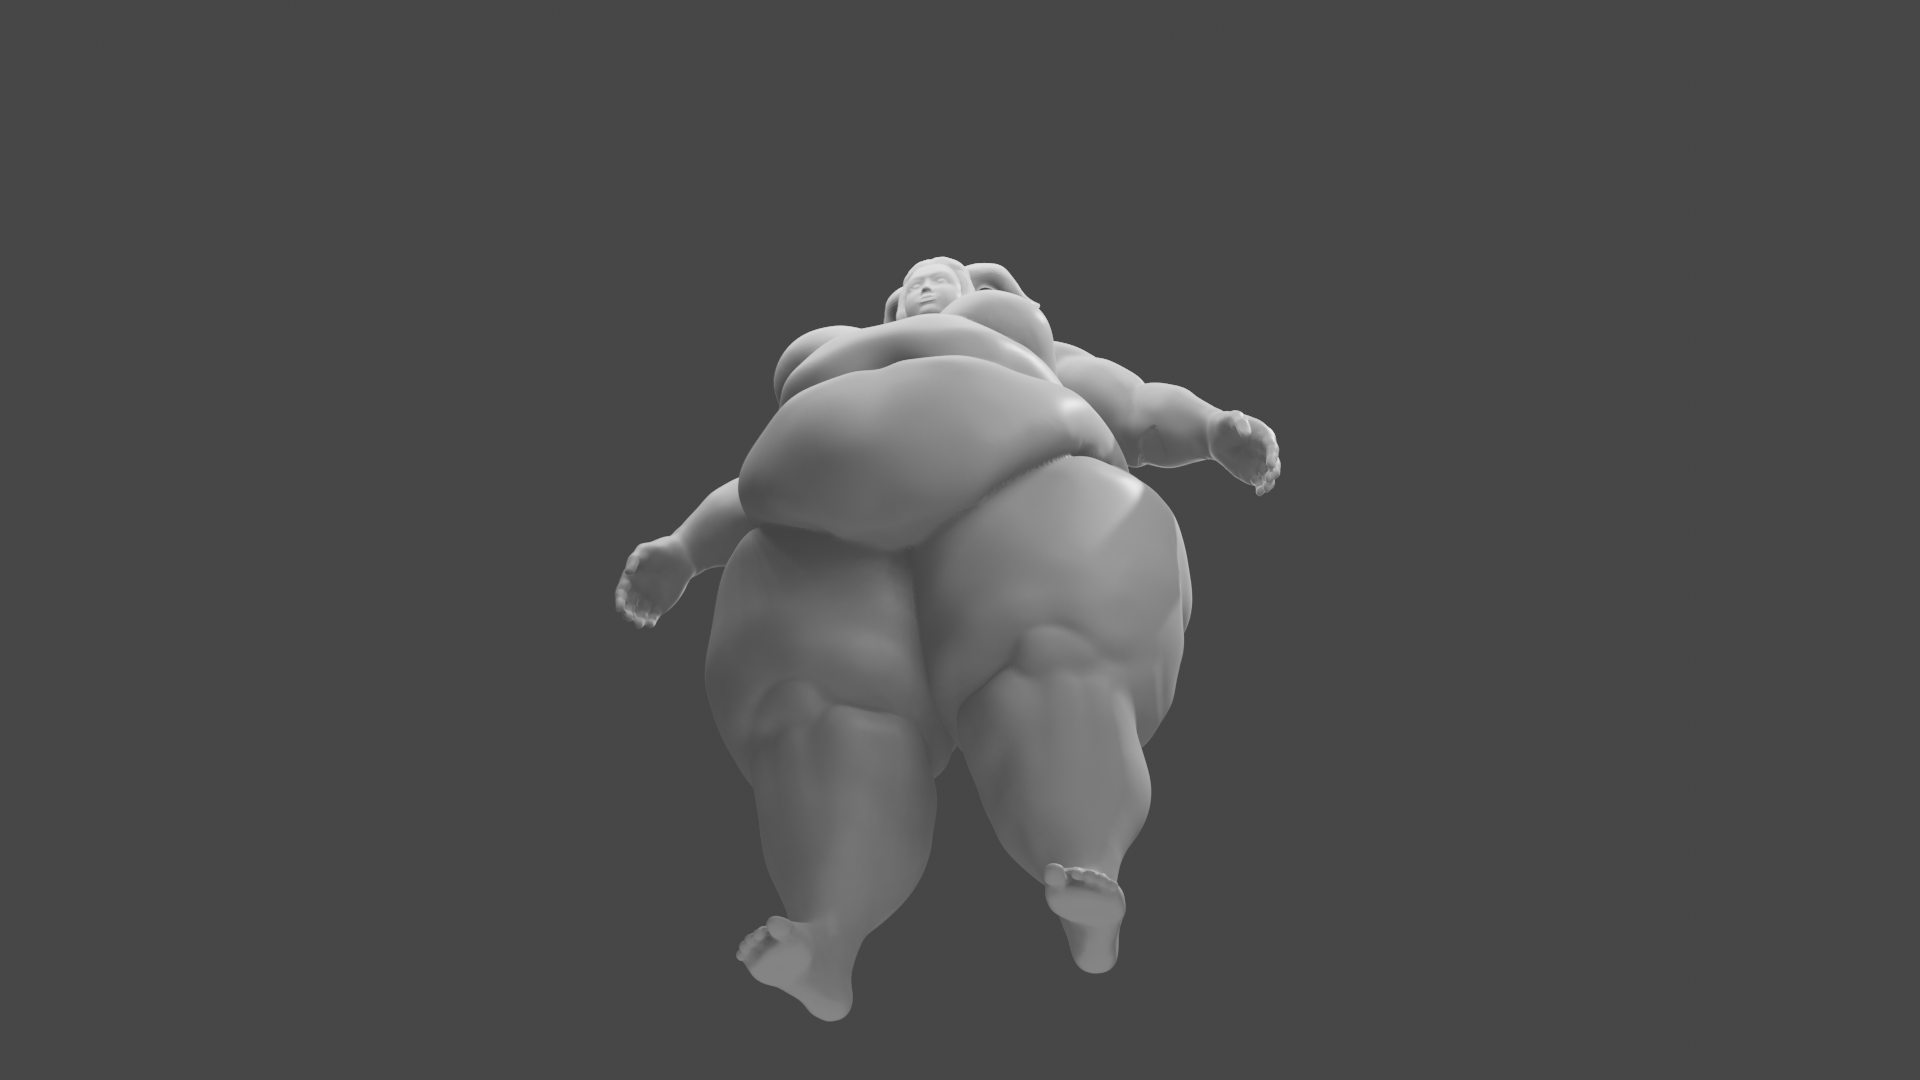
This is an issue that I think I will encounter. With bigger characters I have trouble separating the meshes for the arms and legs. Best ways around this?
I’m not exactly an expert in model rigging, I’ve only really tried rigging hard-surface objects so don’t just take my word on this. But (assuming you’re using blender?), I’d suggest hiding the vertices you don’t want to work on while in edit view.
Creating vertex groups for each bit of geometry where two separate bits of the mesh get too close would make that a lot easer. Which I think is along the lines of what Tombot’s suggesting?
Once the groups are assigned, you’d just need to select the area from the vertex group menu and either hide the selected area, or invert the selection and hide the rest.
Again, not an expert, but I just thought I’d put the idea forward.
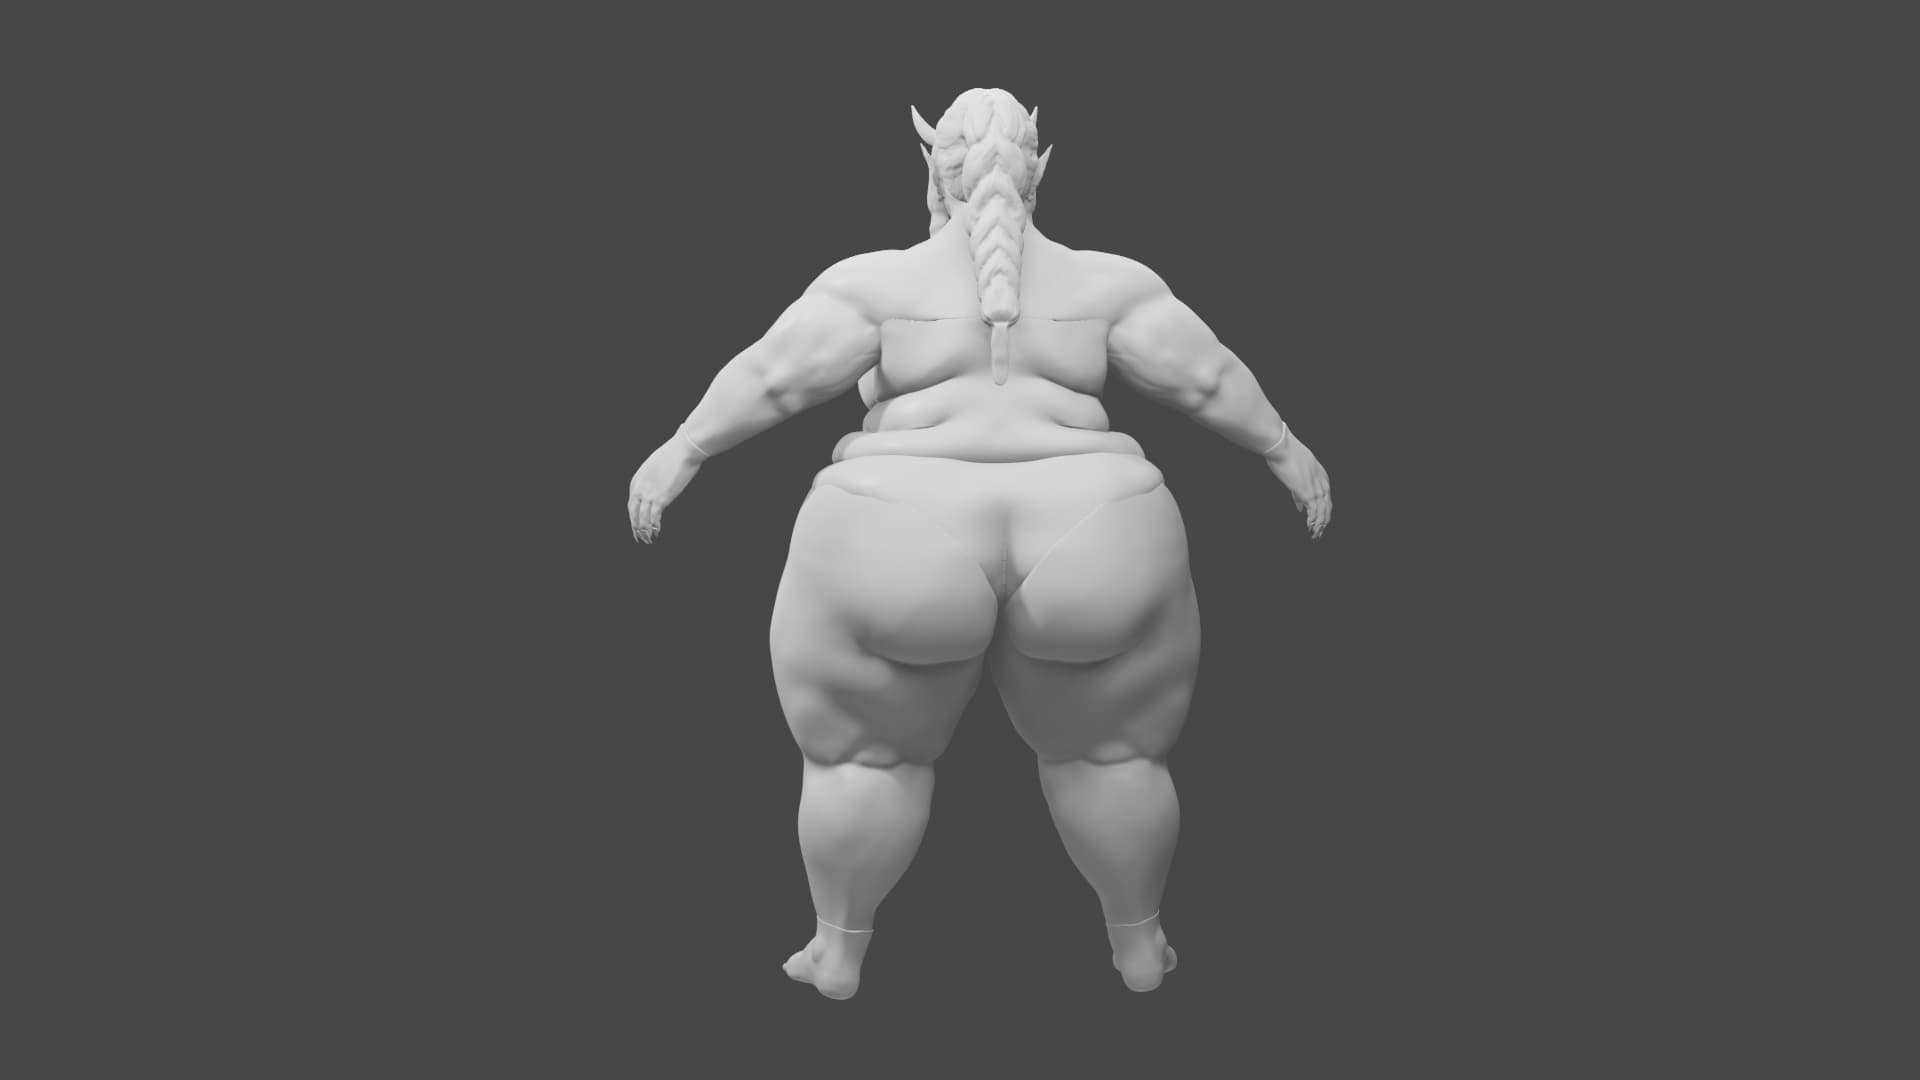
I think you need to rotate the collarbone outward like 10degrees and the shoulder joint inward like 15 degrees to try and approximate resting pose arms.
The current pose isn’t a resting pose, and I assume you plan to animate starting in A-pose? Which is maybe what this position is going for? So maybe you want to start animations here, but I think you need to shrunch and droop the arms for resting pose animation.
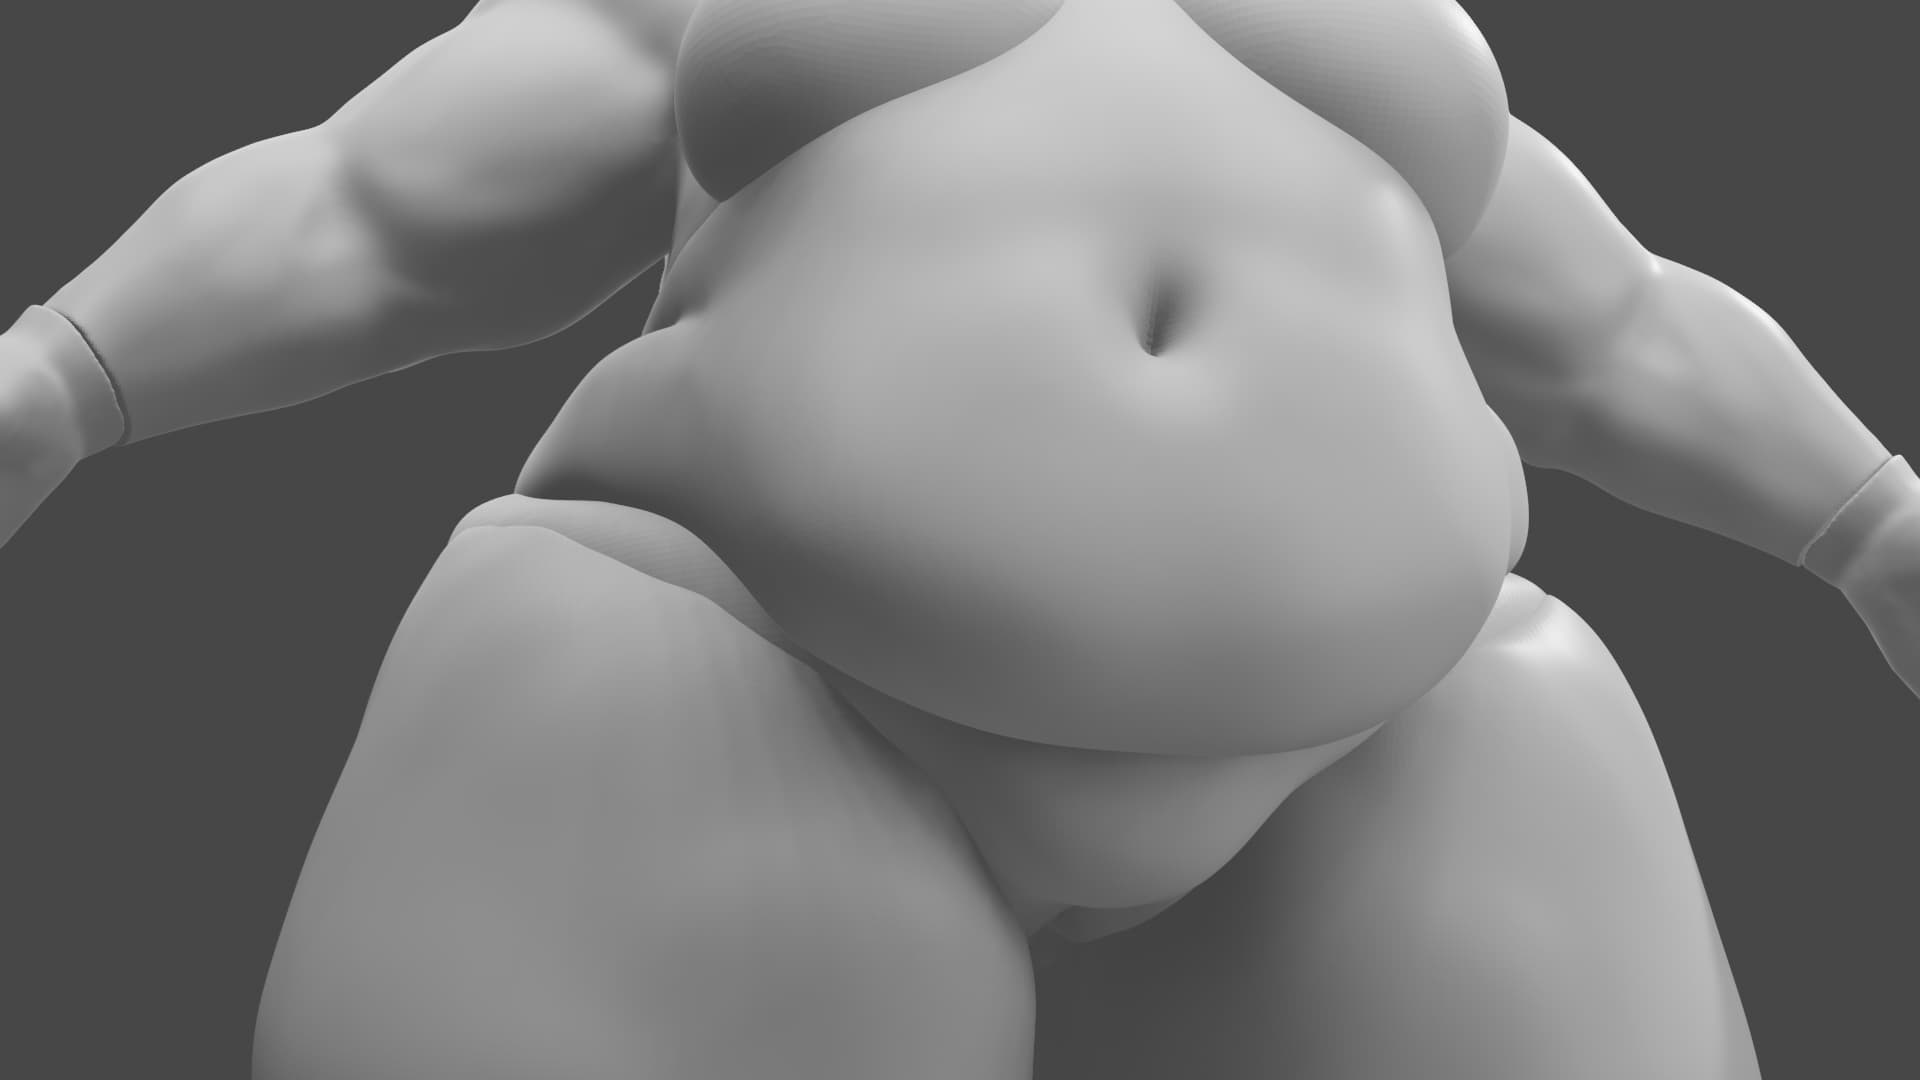
The only issue I can see (that has not been mentioned) is the breasts looking like they are part of the belly instead of something separate. Of course this is a cosmetic thing so no need to stress about it but either making them look less connected to the belly or straight up making them separate (which would likely cause some modeling headaches) could be done more important issues are resolved.
Seperating the different body parts during the blockout phase certainly sounds like the right idea to prevent these issues. There’s probably an easy guide somewhere that could explain it.
Thanks everyone so far for your time and engagement. I hope to post an update soon. I was going to get more progress but some strange stuff with normals for the hands stumped me for a while. I managed to resolve it with the help of a 3d print blender add on but wasn’t able to make as much sculpting progress. I did manage to move the arms up so they didn’t fuse with the chest, though I worry this may impact animation down the line since I am told they make things look more stiff.
My next steps are
sculpt better hands
improve the arm anatomy (double checking muscle anatomy)
The way I do it if I have an ass so fat that the A-Pose the character is in causes the hands to intersect is, to seperate the meshes into 2 objects, applying the rig with auto weights for both objects and then recombining them and merging the vertices by distance where you did the cut
This sounds way better than my idea. Also collarbone is the name of a bone in daz, I’m too n00b for blender
Although ceepert’s point makes a lot of sense because if you’re going to be using anyone else’s animations (and why wouldn’t you) and your A-pose is halfway to T they’ll all break.
PS: No one should read this most likely because it’s amateur level advice. When attempting to apply pre-canned animations to dramatically oversized figures in daz you run into the problem that the arms/hands will clip through the hip the first thing people try is to just move the arms at a single joint outward, but imo that looks more fake than if you adjust as many of the bones between the neck and hand as you can get away with. The 10/15 numbers were from an example I was looking at myself on a totally unrelated model, who was maybe half as fat as this (but still too fat to accept stock pre-canned animations out of the default a-pose). I was actually trying to make my model as fat as possible, but was determined to use a pre-canned walking animation I liked and was running into the hands warp through hips issue a lot. I was also looking at a like 15 second long candid clip someone posted online of a real fat woman, and trying to see how the heck it was possible she didn’t slap her own ass constantly, and she wasn’t moving her hands around her ass, it was more like a shoulder shrunch/hunch. But I forget where that video is (and literally ANY short candid clip will provide the same insight, I don’t think I even saved that one.)
edit2: To be clear, women who walk swing their arms around their hips, what I meant was the giant hip of a fatter woman doesn’t result in a giant increase in swinging of the arms, I’m not really explaining it well at all which is why this is blurred out
I think you observations make enough sense that I will do some research on large women walking to see if I can confirm. Most of us here are self taught so there’s no need to be shy about your suggestions, they are appreciated and welcomed. While I have done a modeling and sculpting (and programming) lately, animations and rigging is not something I have great familiarity with.
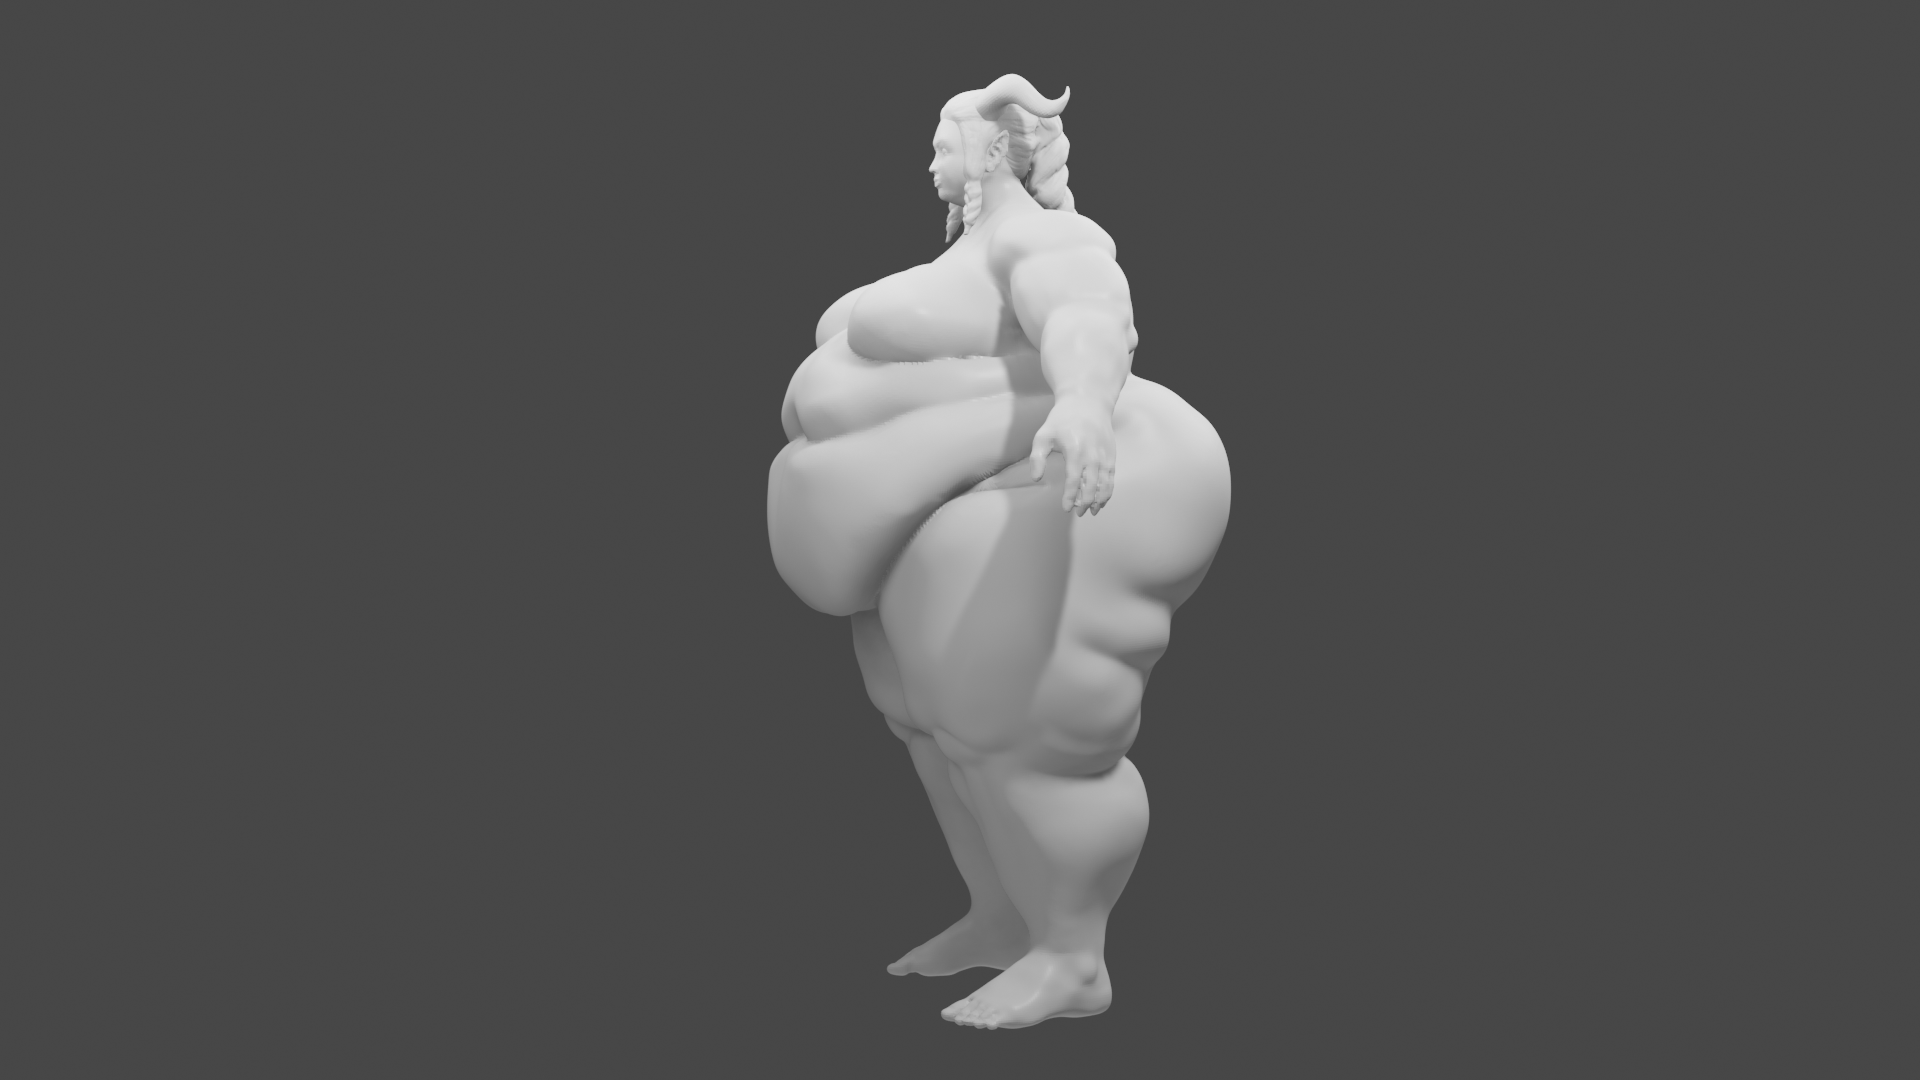
Managed to sculpt better hands today. I moved the arms up as well. I will look into separating the arms once I get closer to rigging and after retopologizing.
As bonus I did a quick edit of a copy with ‘heroic’ proportions(9 heads). Looked pretty crazy but was fun to sculpt. Went off of a picture from Grim Kun. I don’t anticipate going that big for the demo I am working on but I would like to integrate some height growth. I guess I’ll be Tposing the belly next (per @Yamhead’s suggestion on a different post) and tweaking the face and then finally move onto retopologizing which will be a bit of a challenge since there isn’t a ton of precedent for this size, but I did manage to find a few examples.